Complete Setup Guide: Step-by-Step Installation for Optimal Performance
6 min. read


Complete Setup Guide: Step-by-Step Installation for Optimal Performance
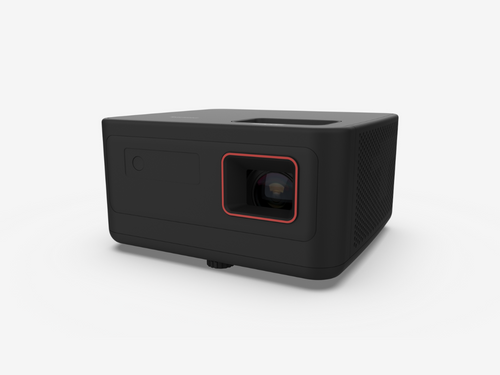
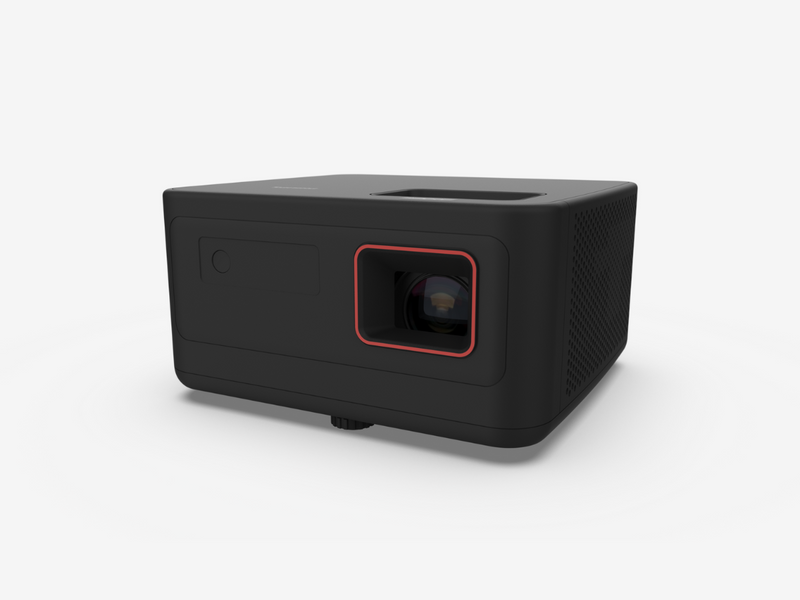
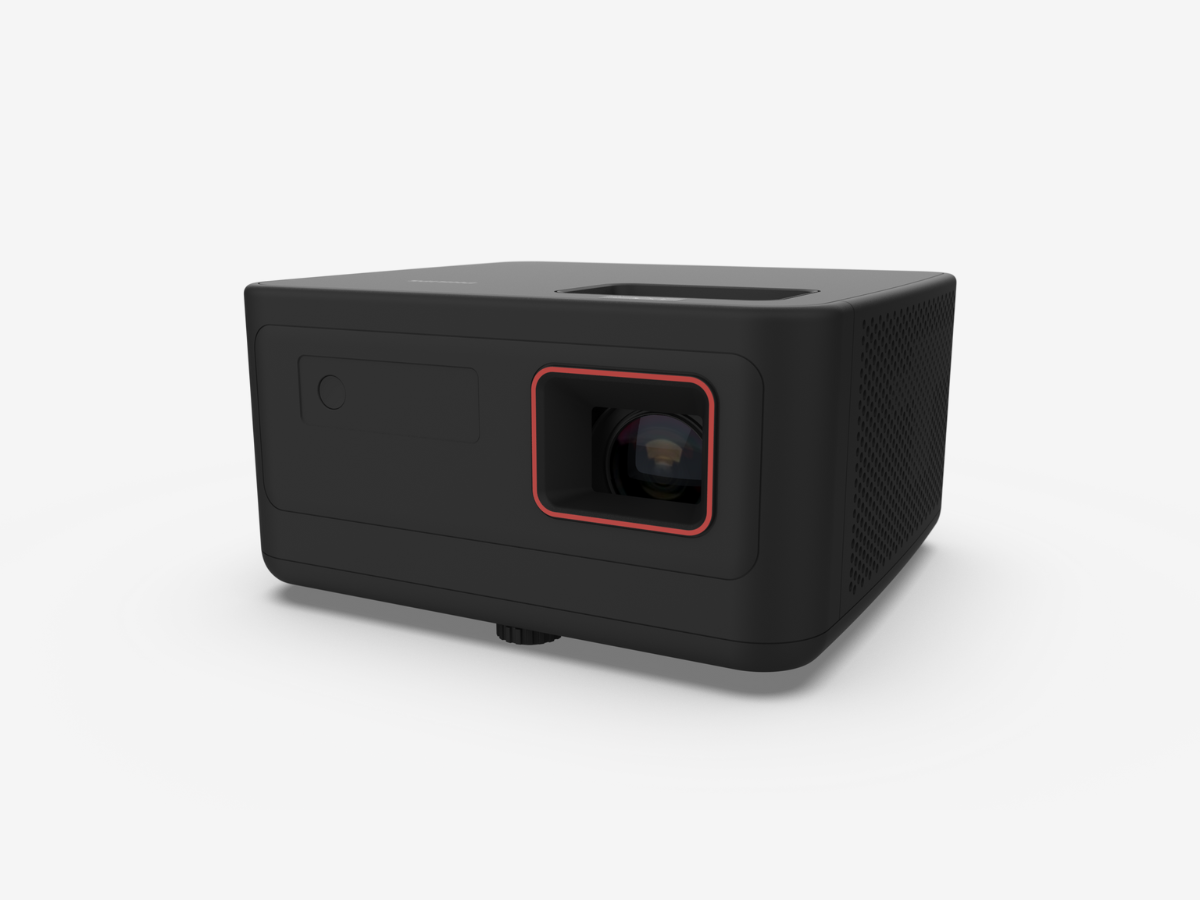
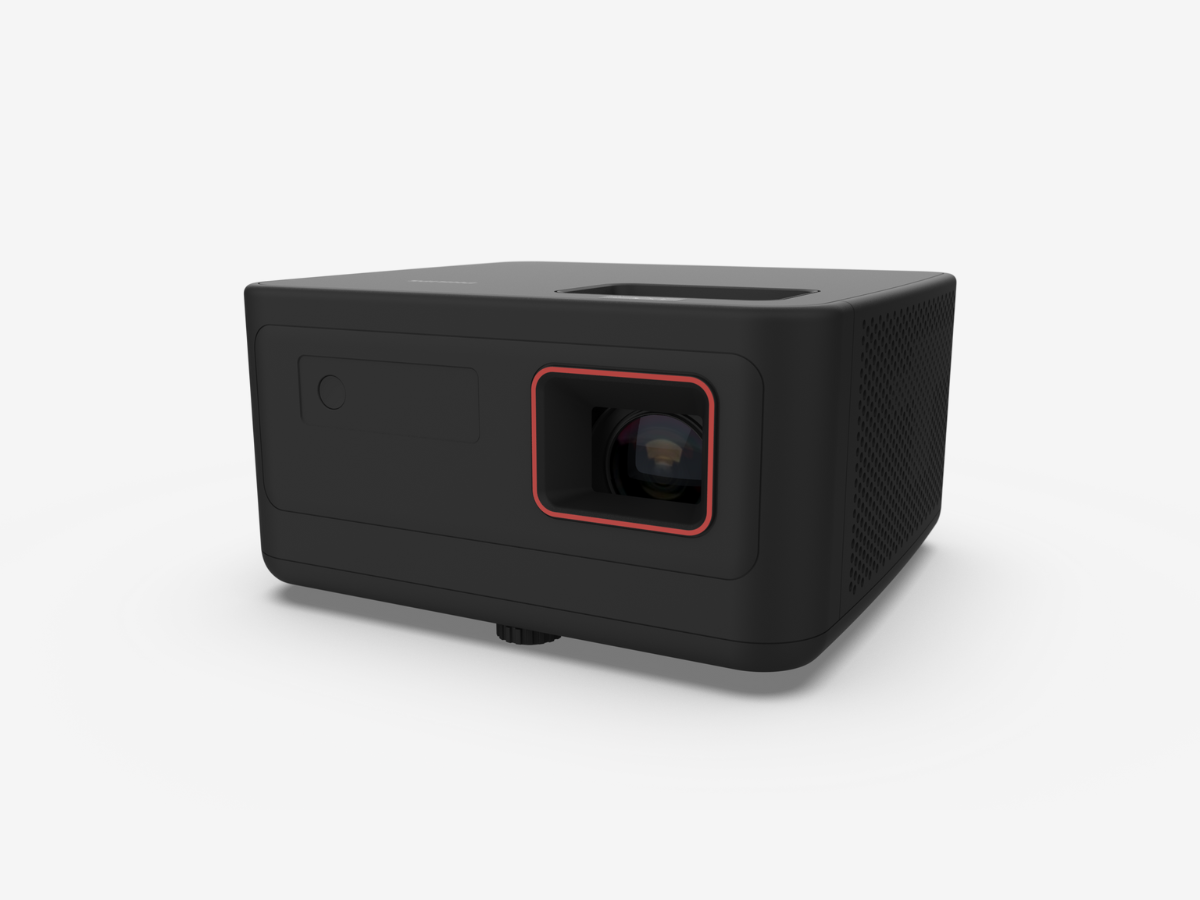
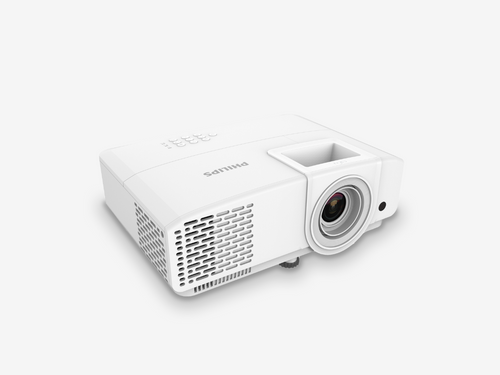
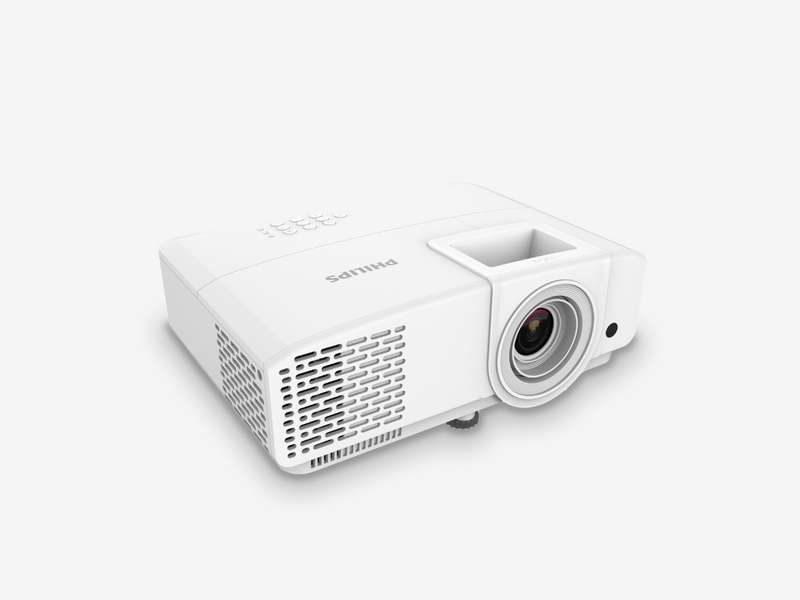
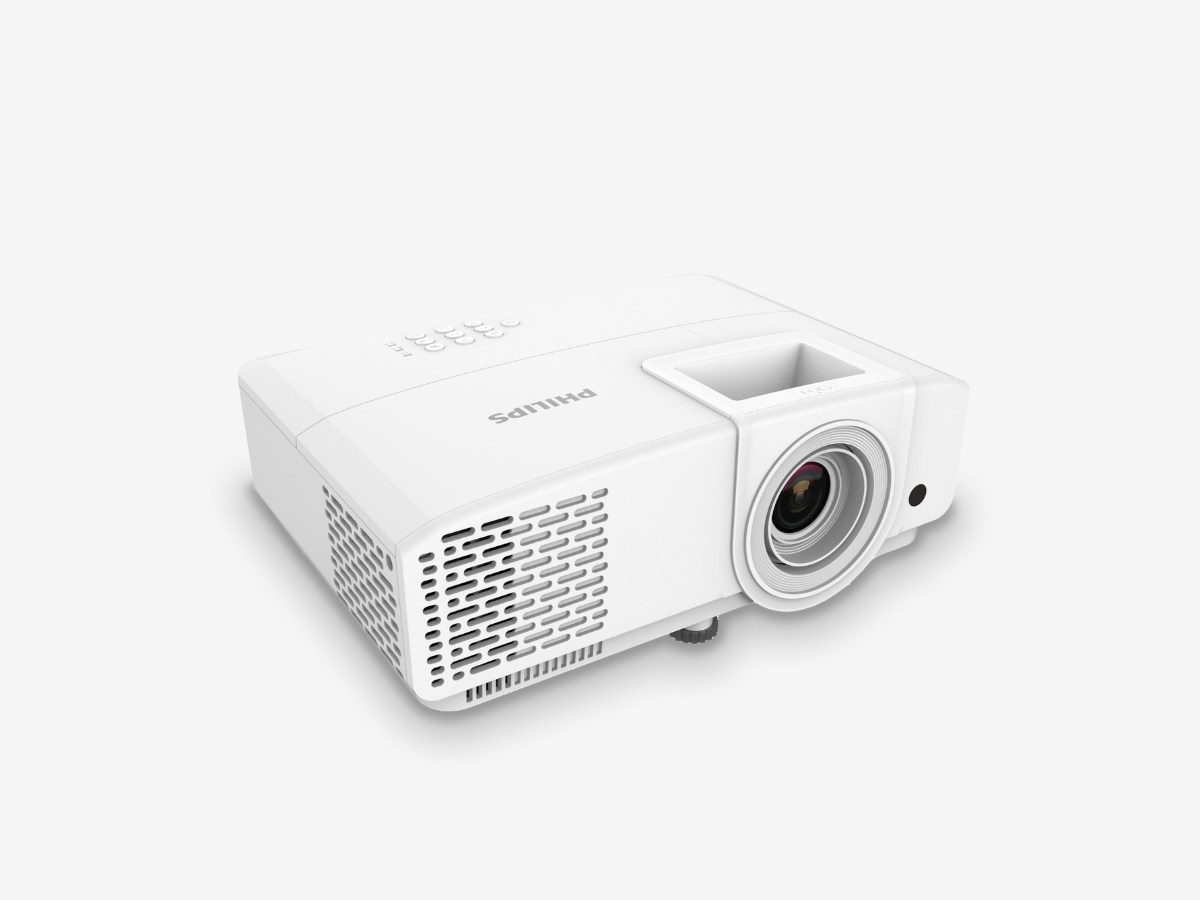
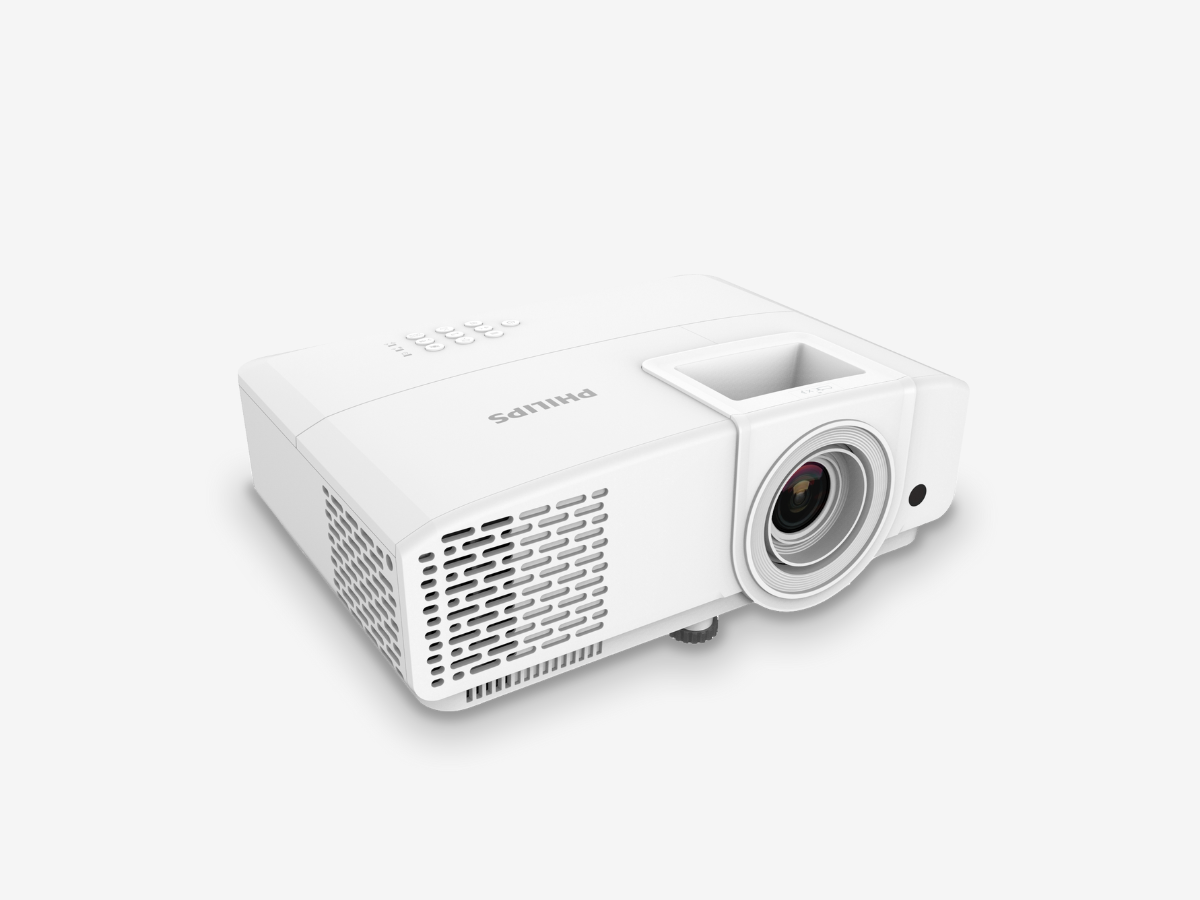
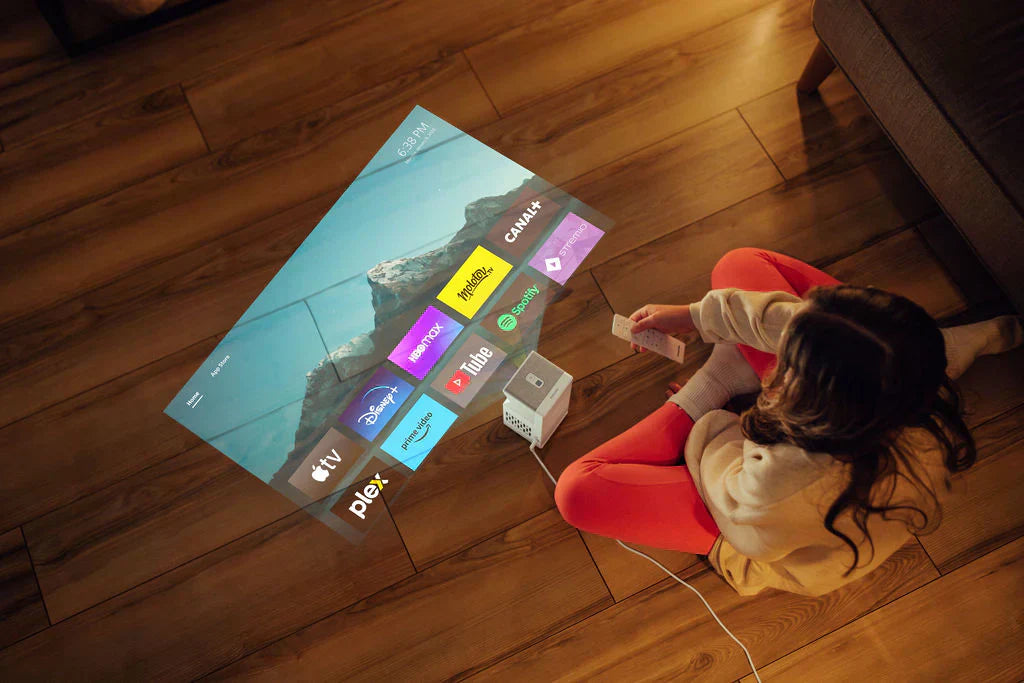
Setting up your new Philips projector is simple. Whether you've chosen a compact NeoPix 140, a gaming-focused GamePix 800, or a ProPix for professional use, this comprehensive guide will help you achieve the perfect setup for an outstanding visual experience.
Before You Begin: What’s in the Box?
Each Philips projector comes with everything you need to get started:
- Your projector (with built-in features)
- Remote control with AAA batteries
- Power adapter and multi-region power cable (EU, US, UK)
- Quick start guide with warranty card
- USB-C to HDMI cable (depending on model)
Tip: Keep your warranty card safe - all Philips projectors come with a full 2-year warranty.
Step 1: Choosing the Ideal Placement
Throw Distance / Screen Size Calculator:
- NeoPix Series:
- NeoPix 230: 80″ screen at ~1.86 m
- NeoPix 150: up to 80″ in a compact format
- NeoPix 950 Smart: up to 150″ with 2LCD technology
- GamePix Series:
- GamePix 800: immersive gaming experience between 100–120″
- GamePix 900: 4K projection up to 120″ with HDR10
- Screeneo Series:
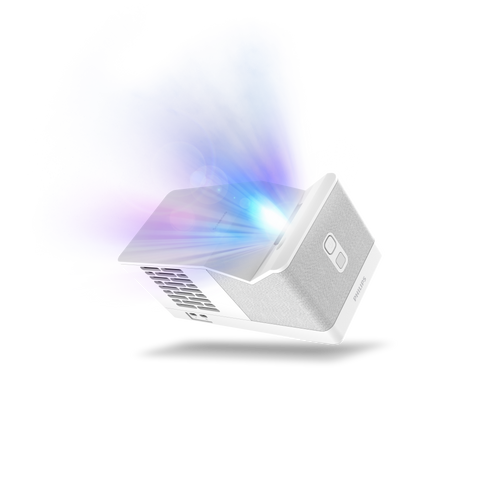
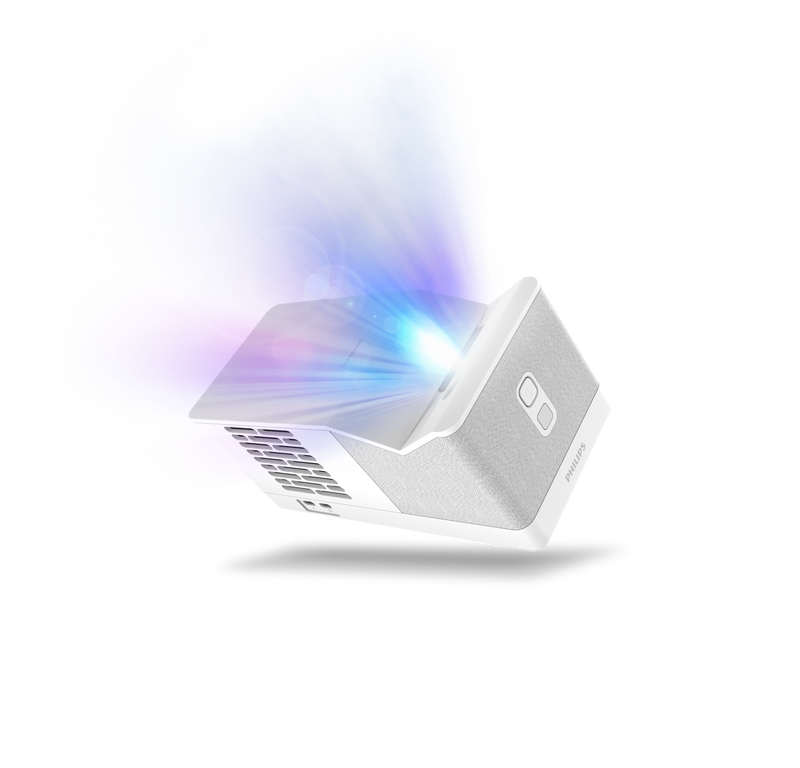
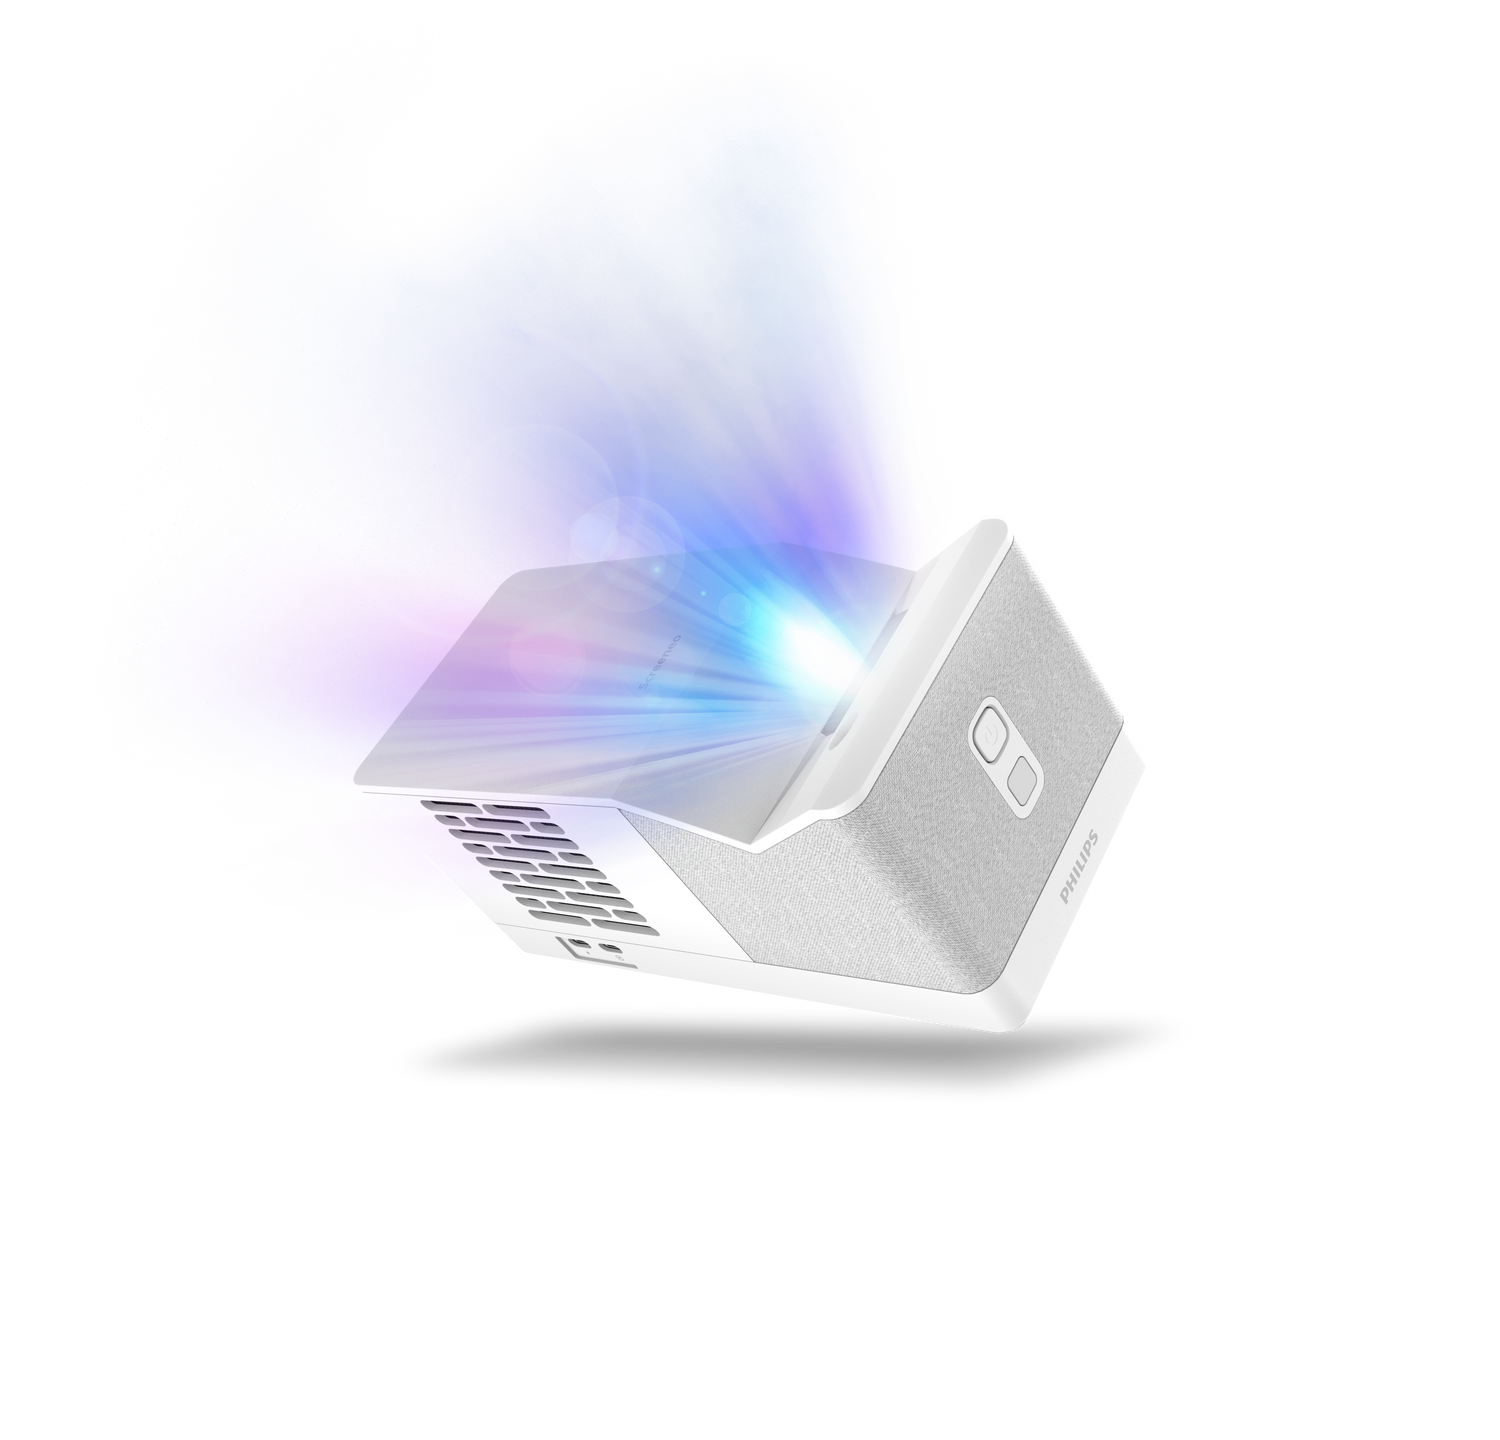
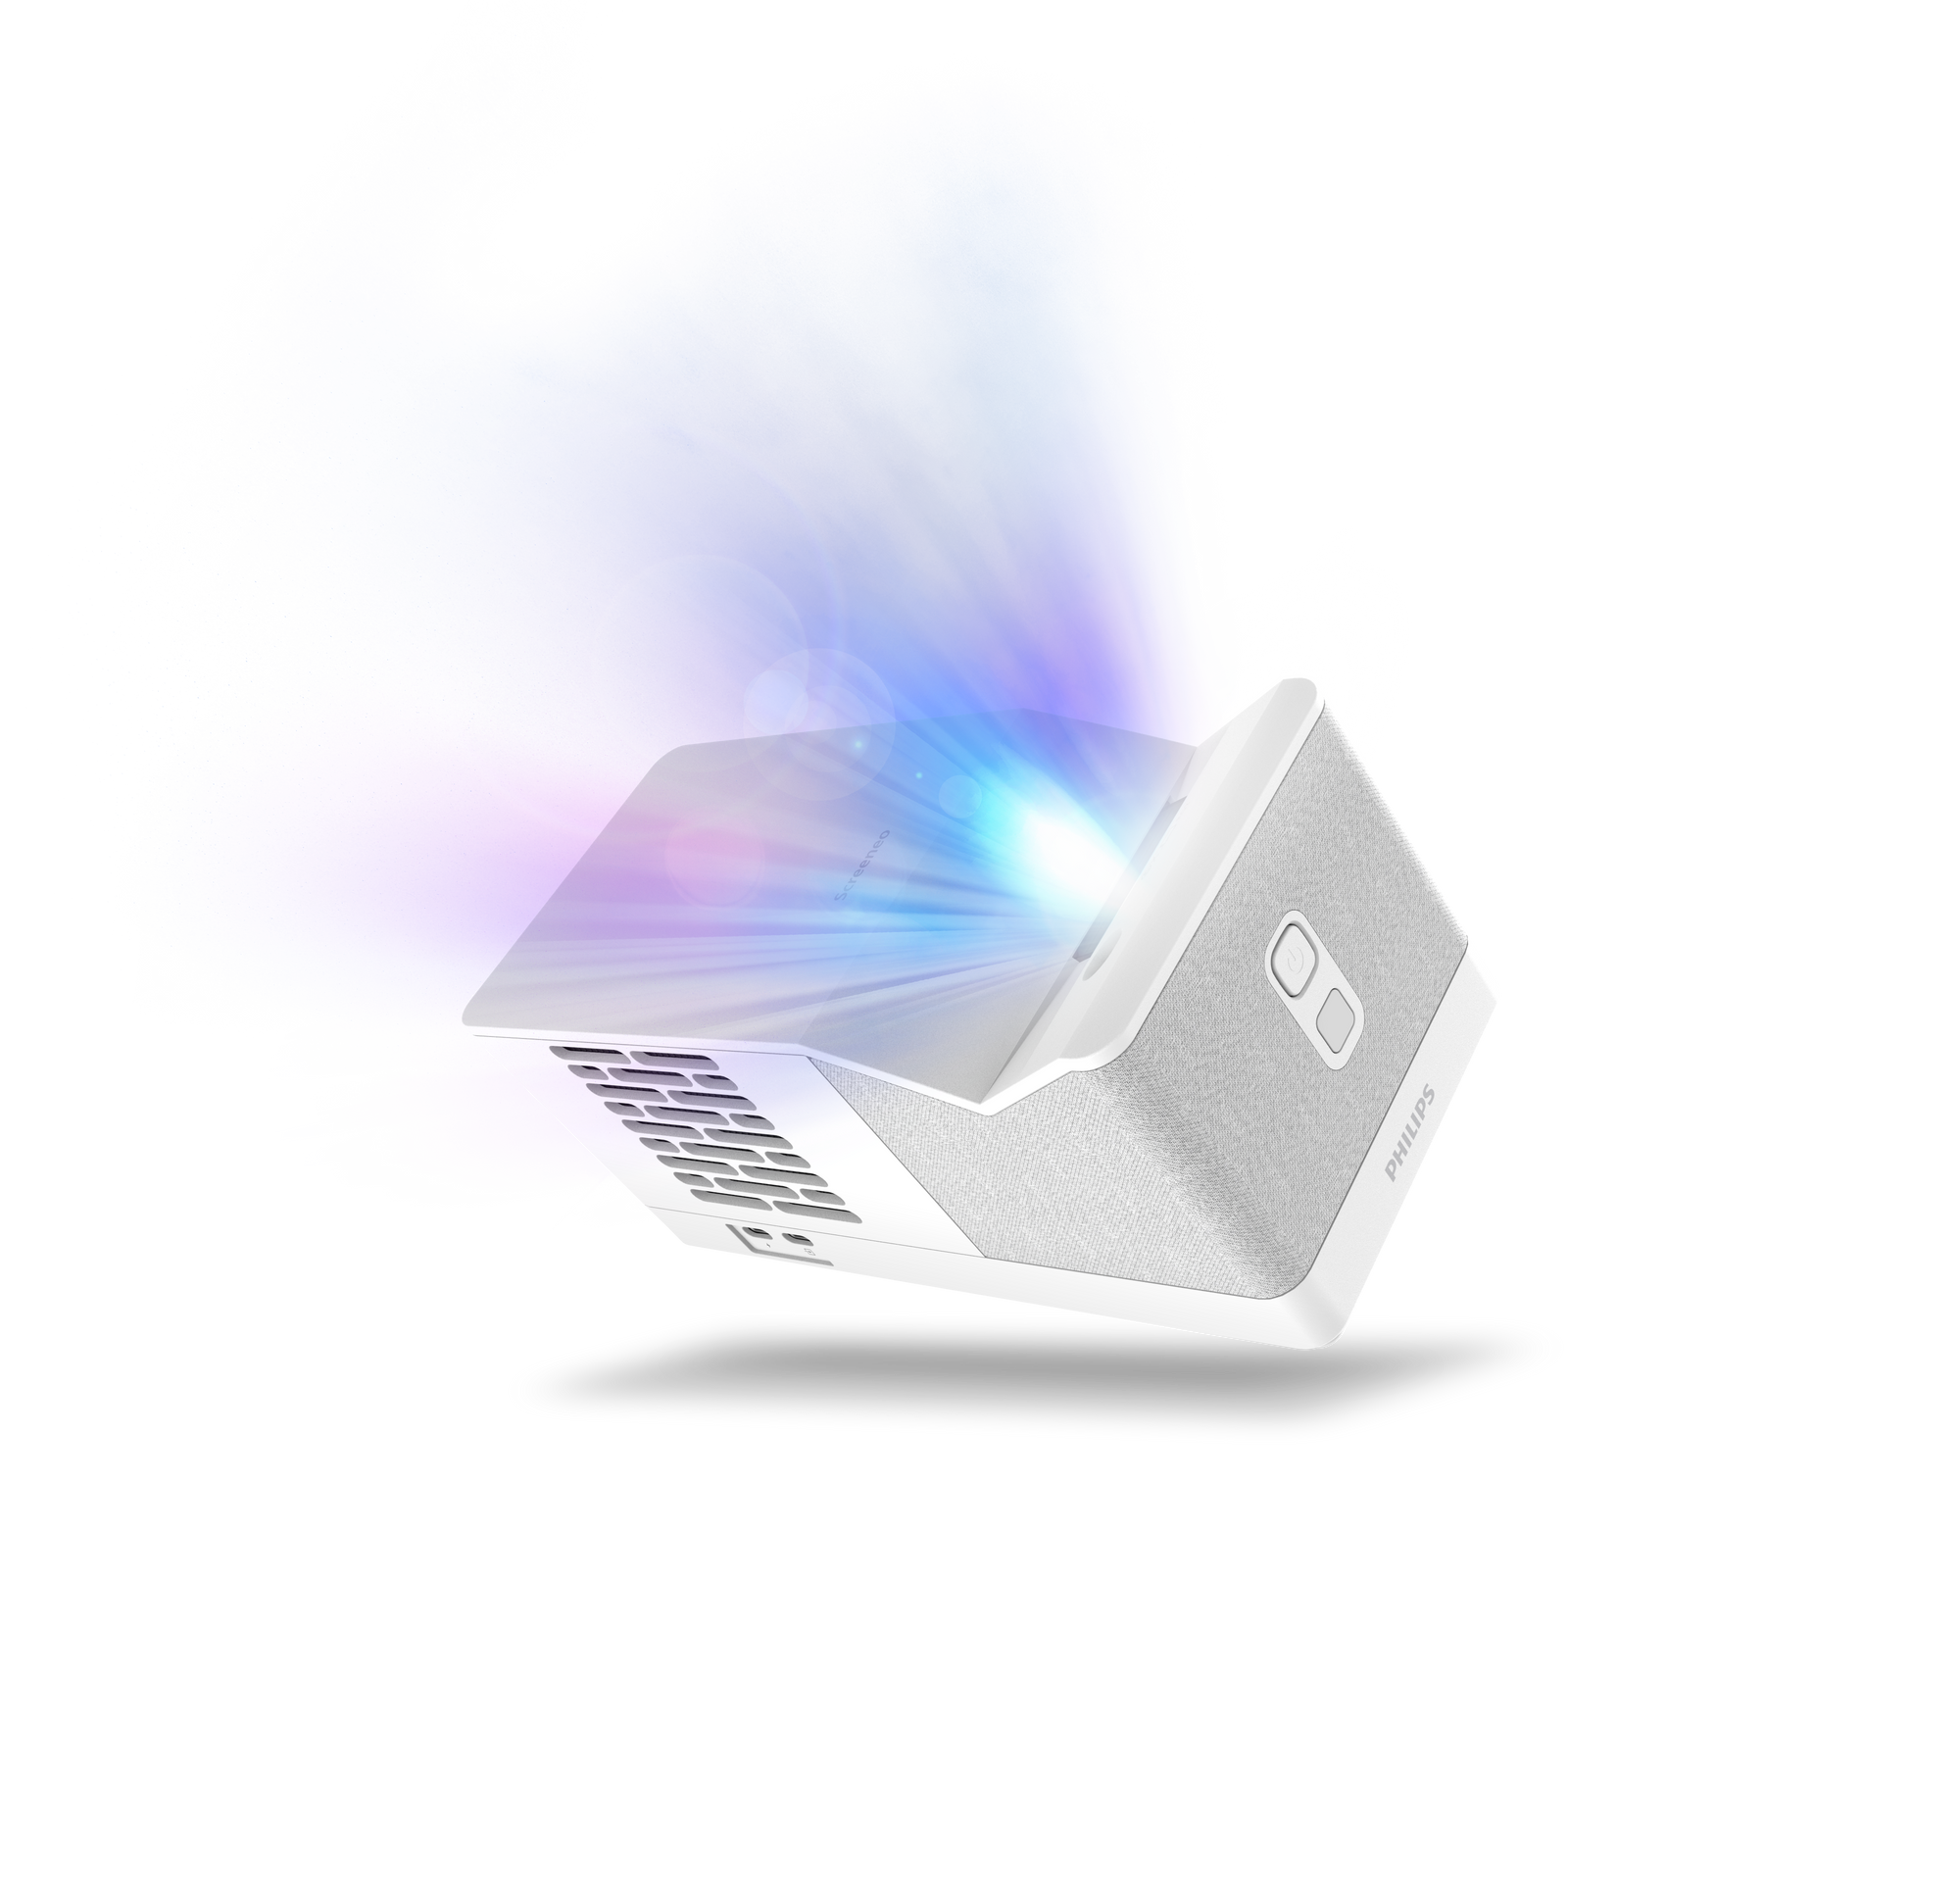
- Screeneo UL5: ultra-short throw : 100″ from just 24 cm
- ProPix Series:
- ProPix 860/850: professional setup from 70″ to 150″
Brightness Depending on the Room:
- Dark/low-light rooms: NeoPix (250–700 lumens)
- Moderately lit rooms: GamePix 800 (2,500 ANSI lumens)
- Bright meeting rooms: ProPix 850 (4,000 ANSI lumens)
Recommended Projection Surface:
- Use a flat, white or light grey wall with no texture for a crisp image
- A dedicated screen further enhances picture quality
Step 2: Physical Setup and Positioning
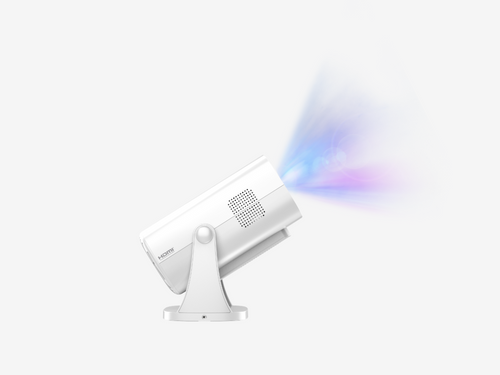
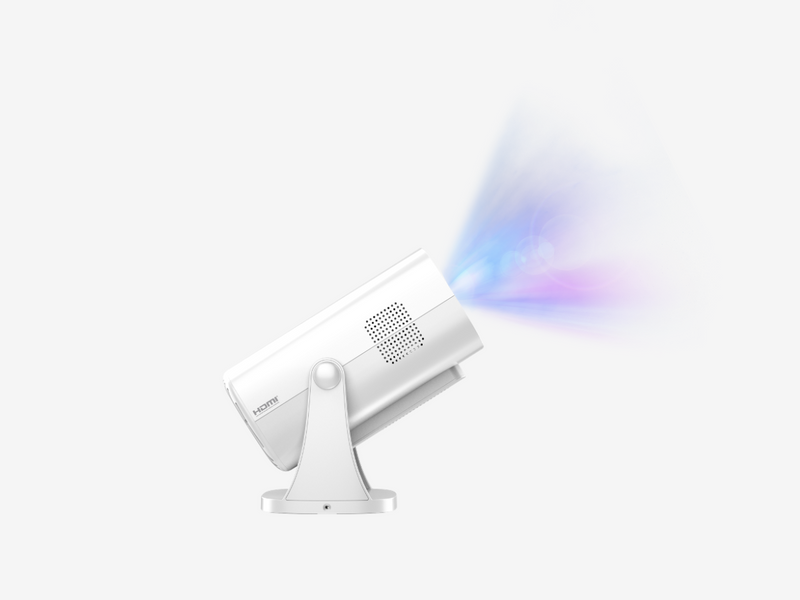
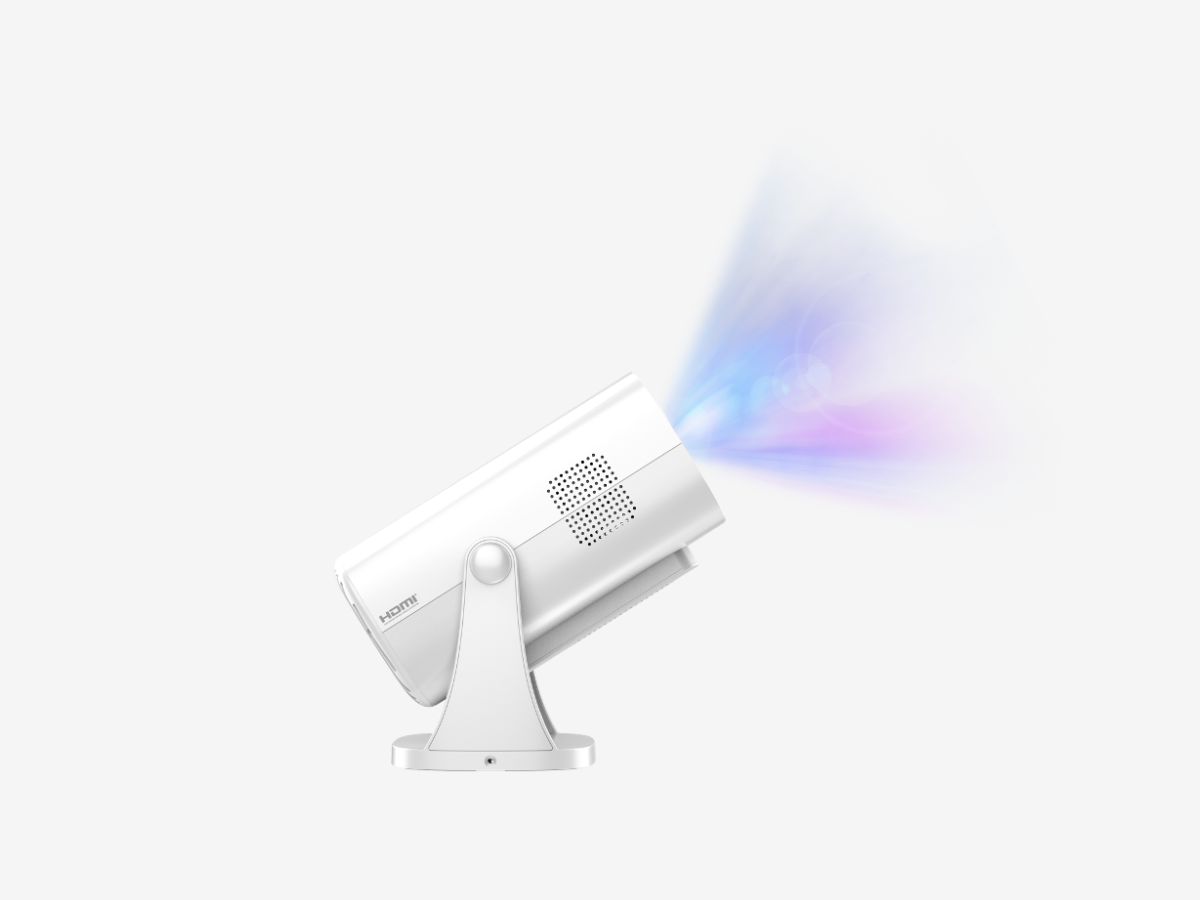
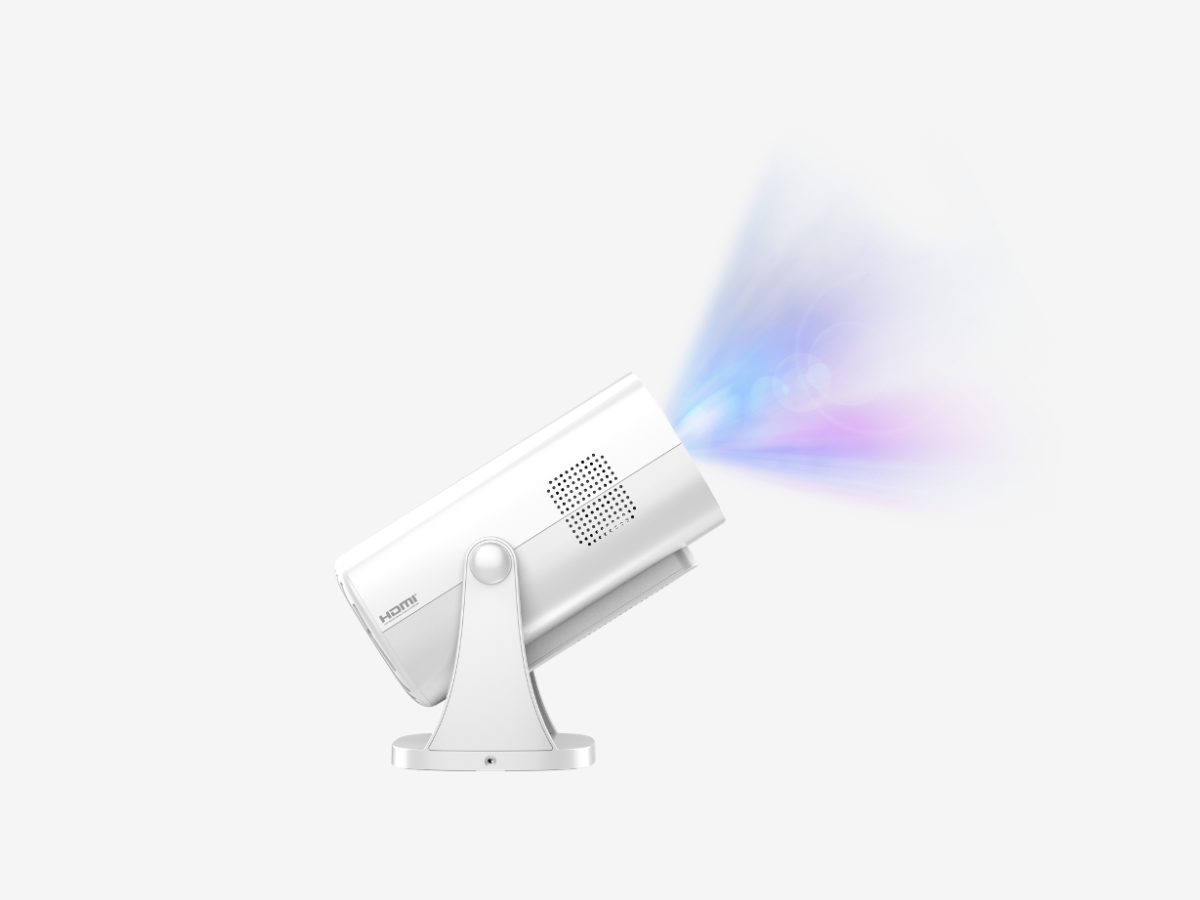
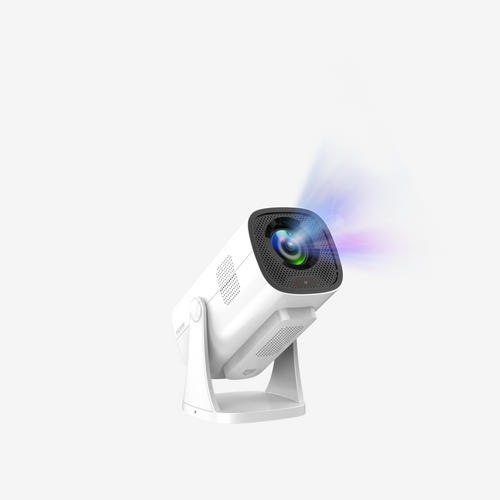
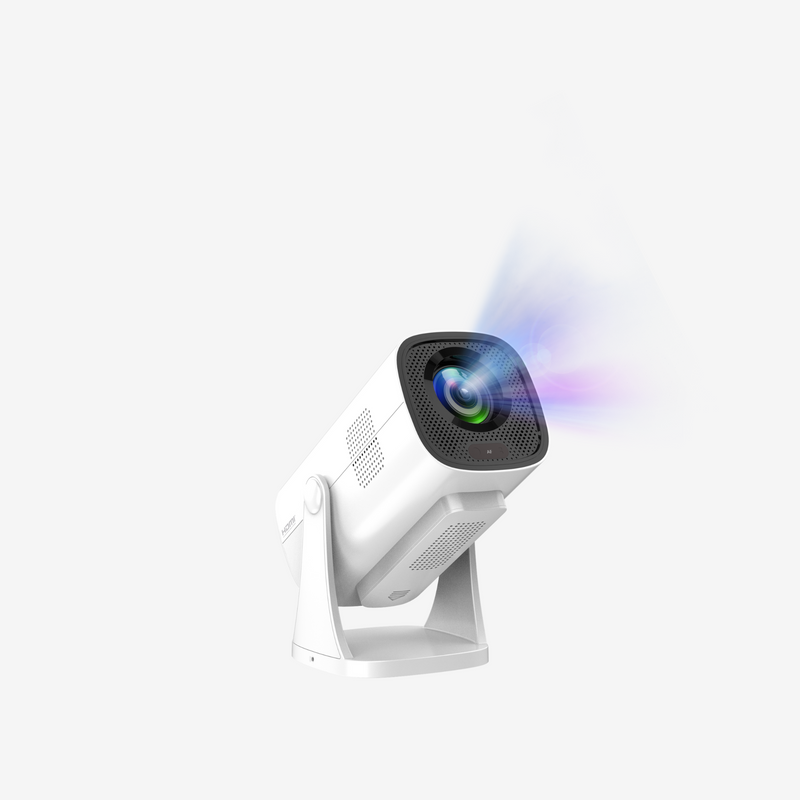
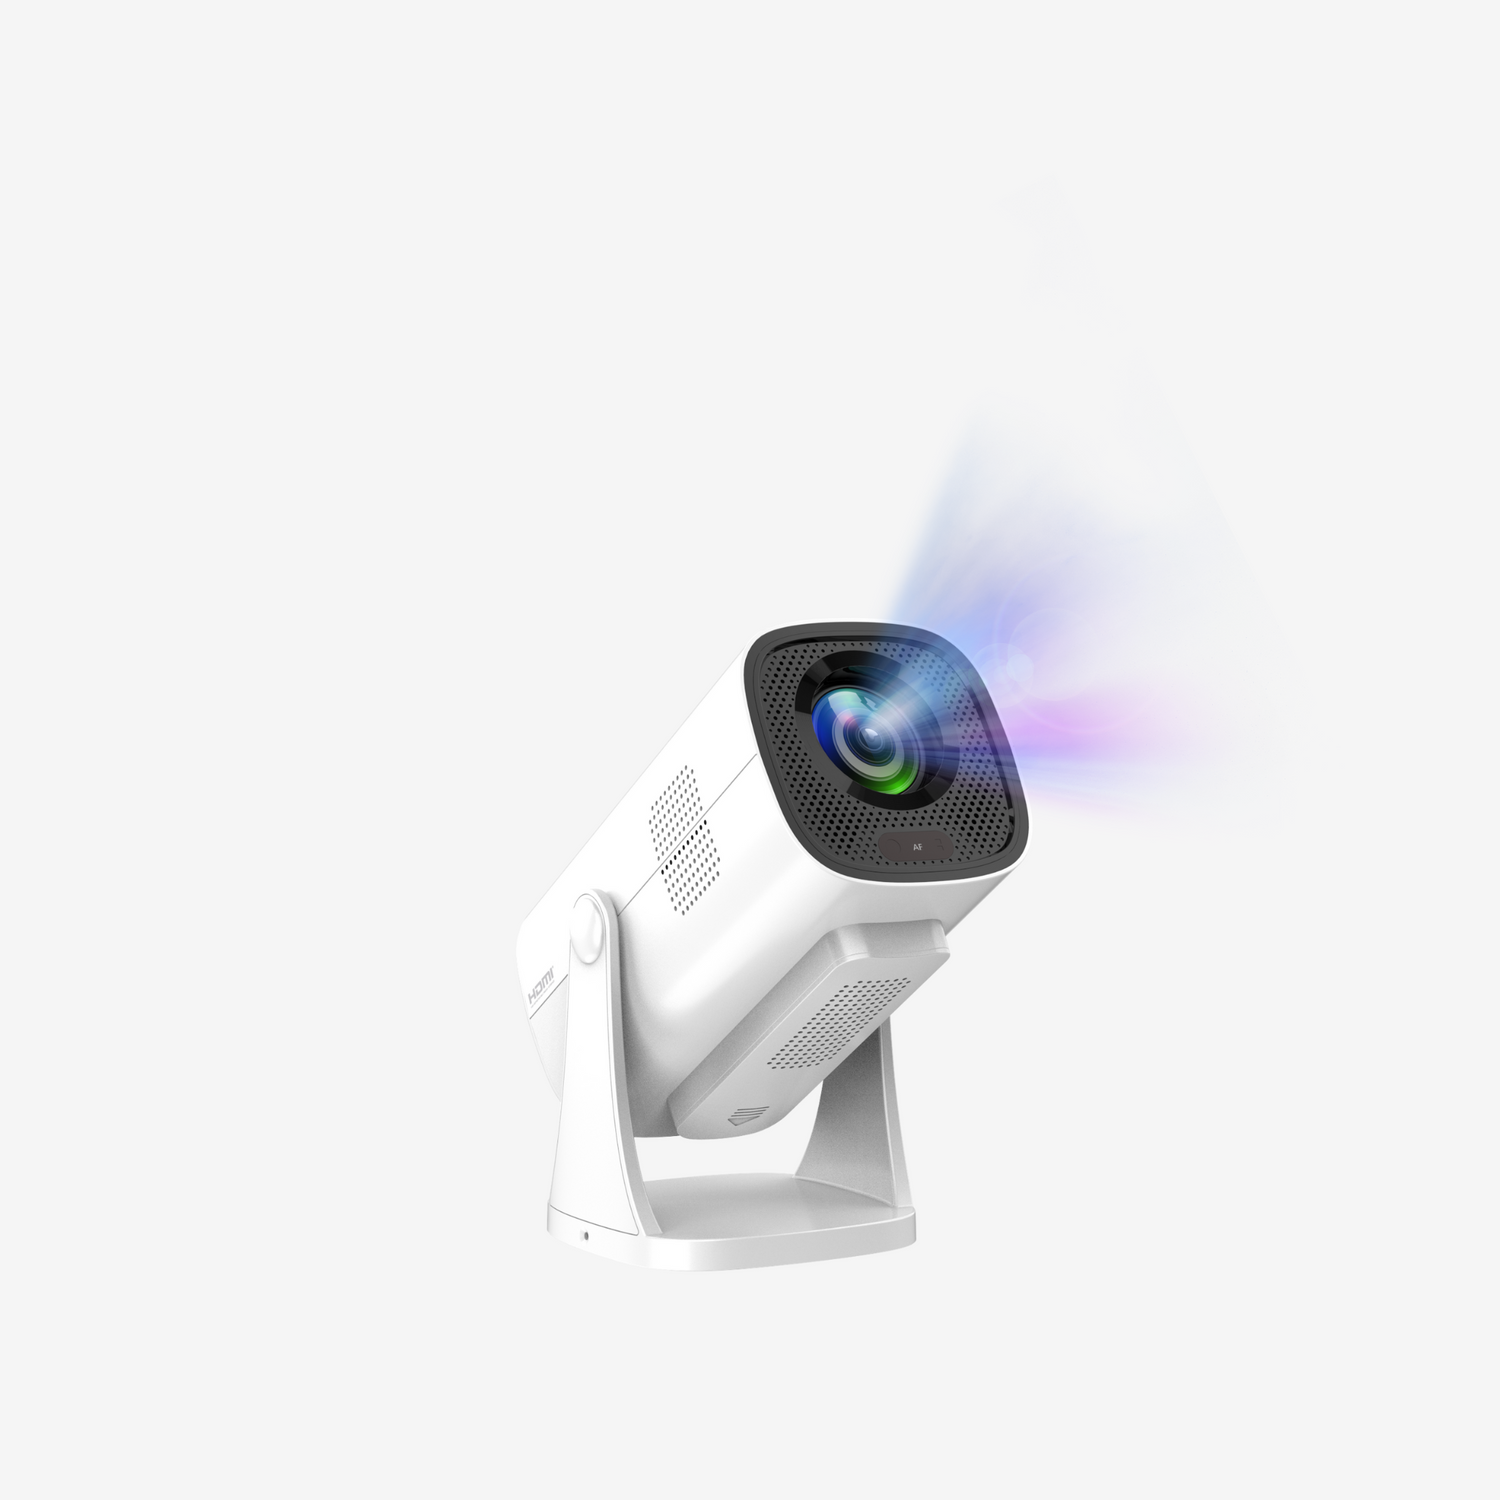
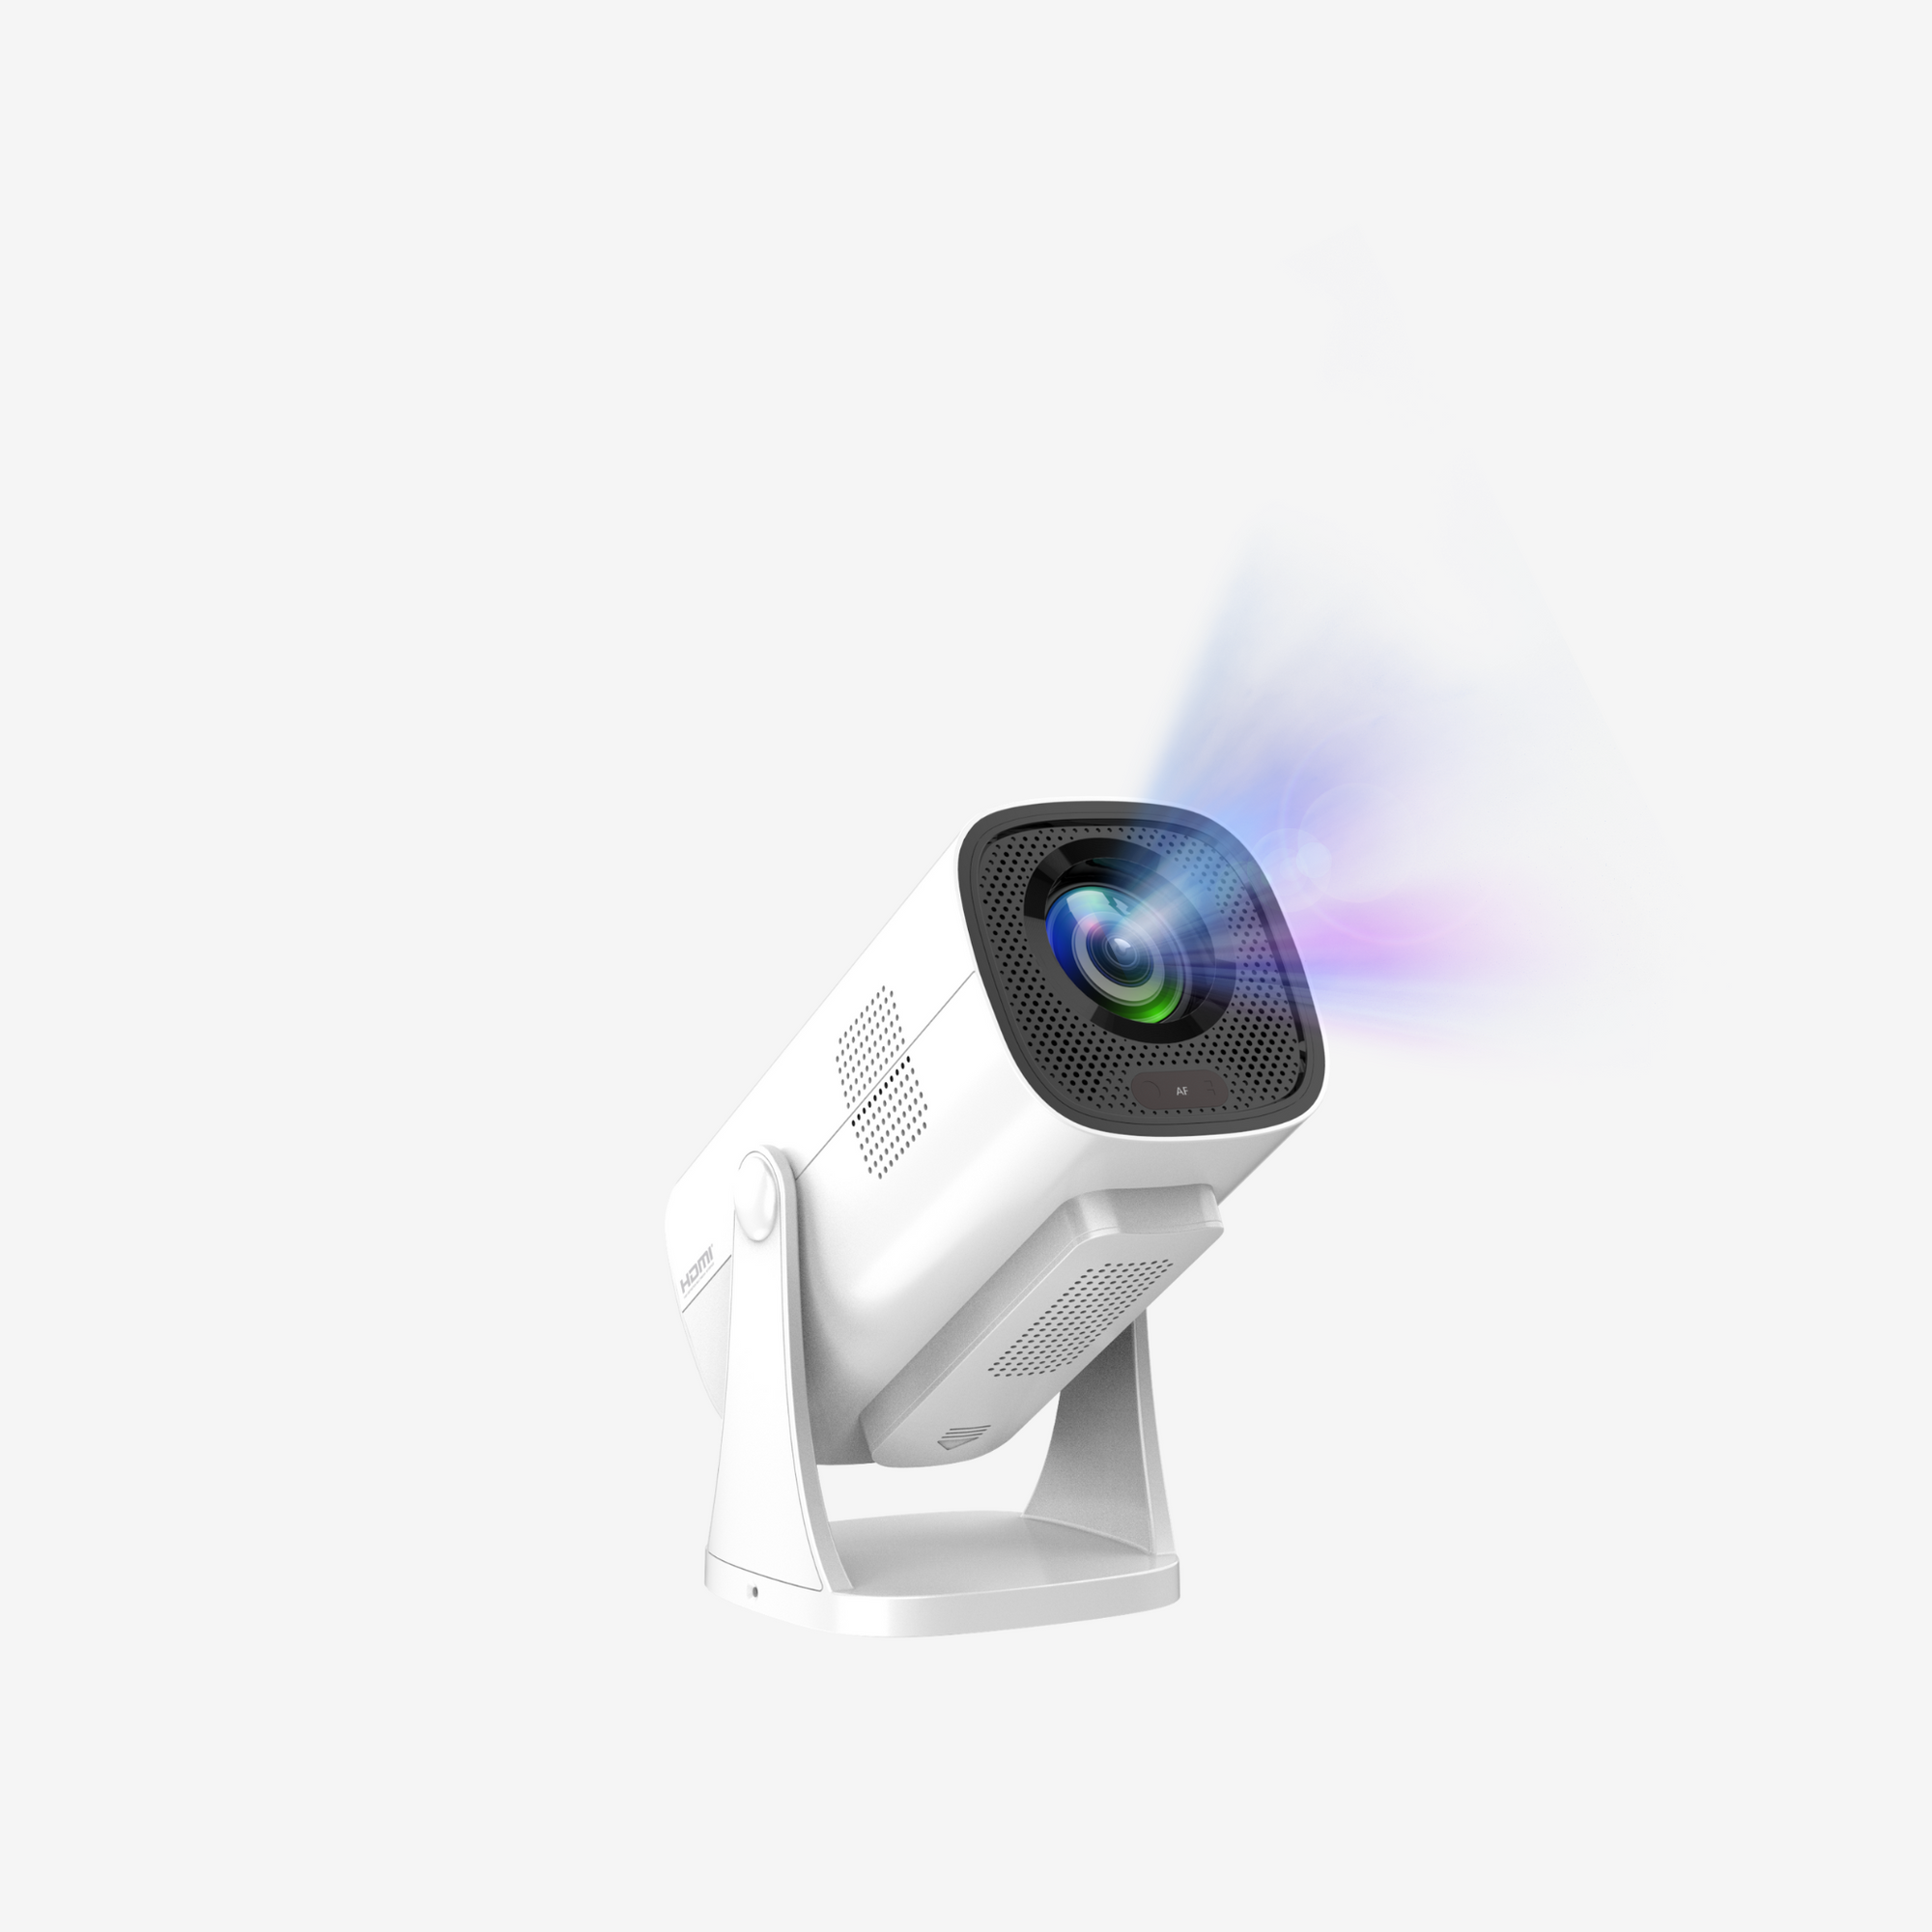
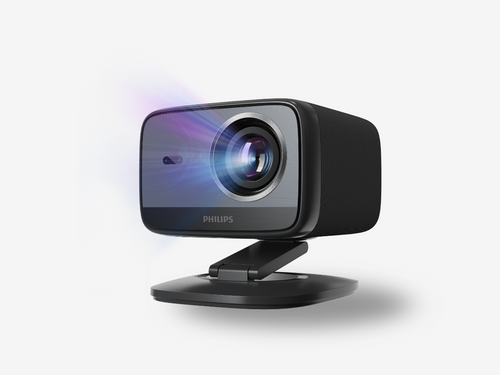
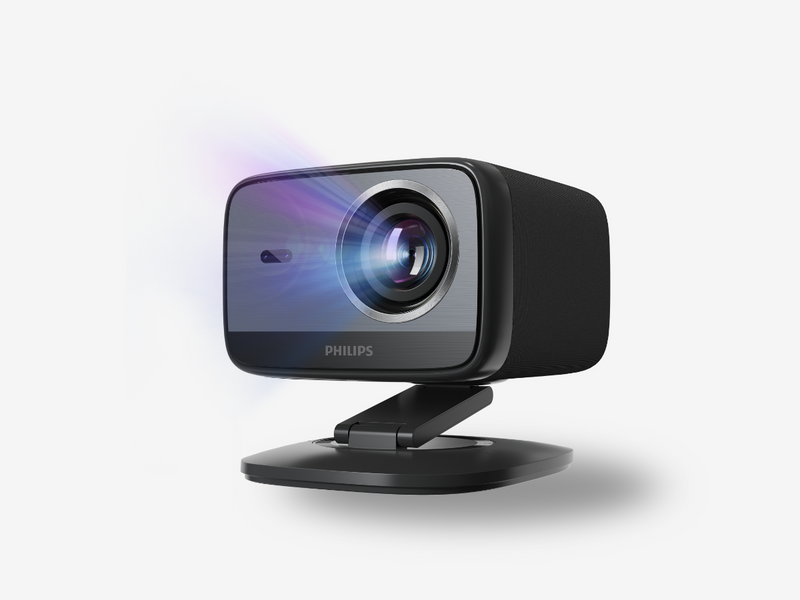
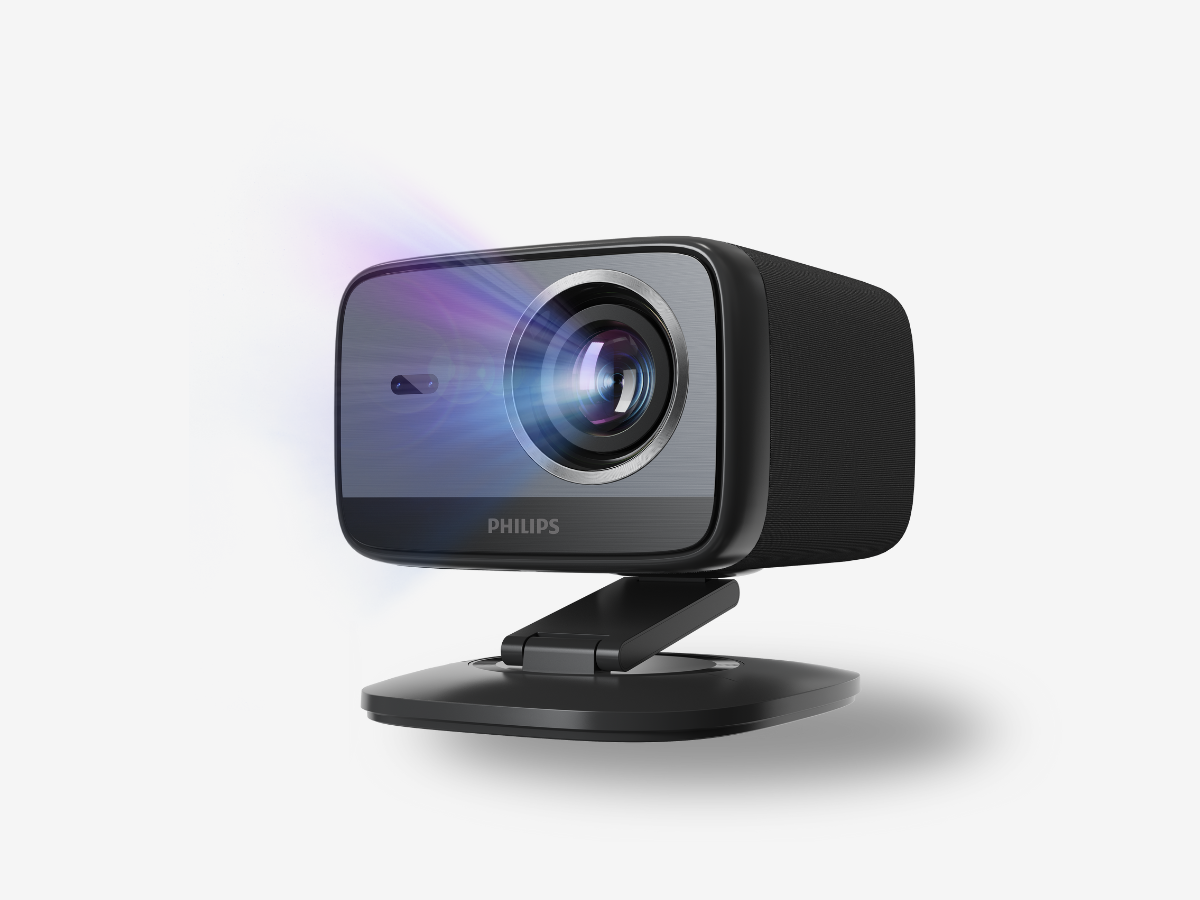
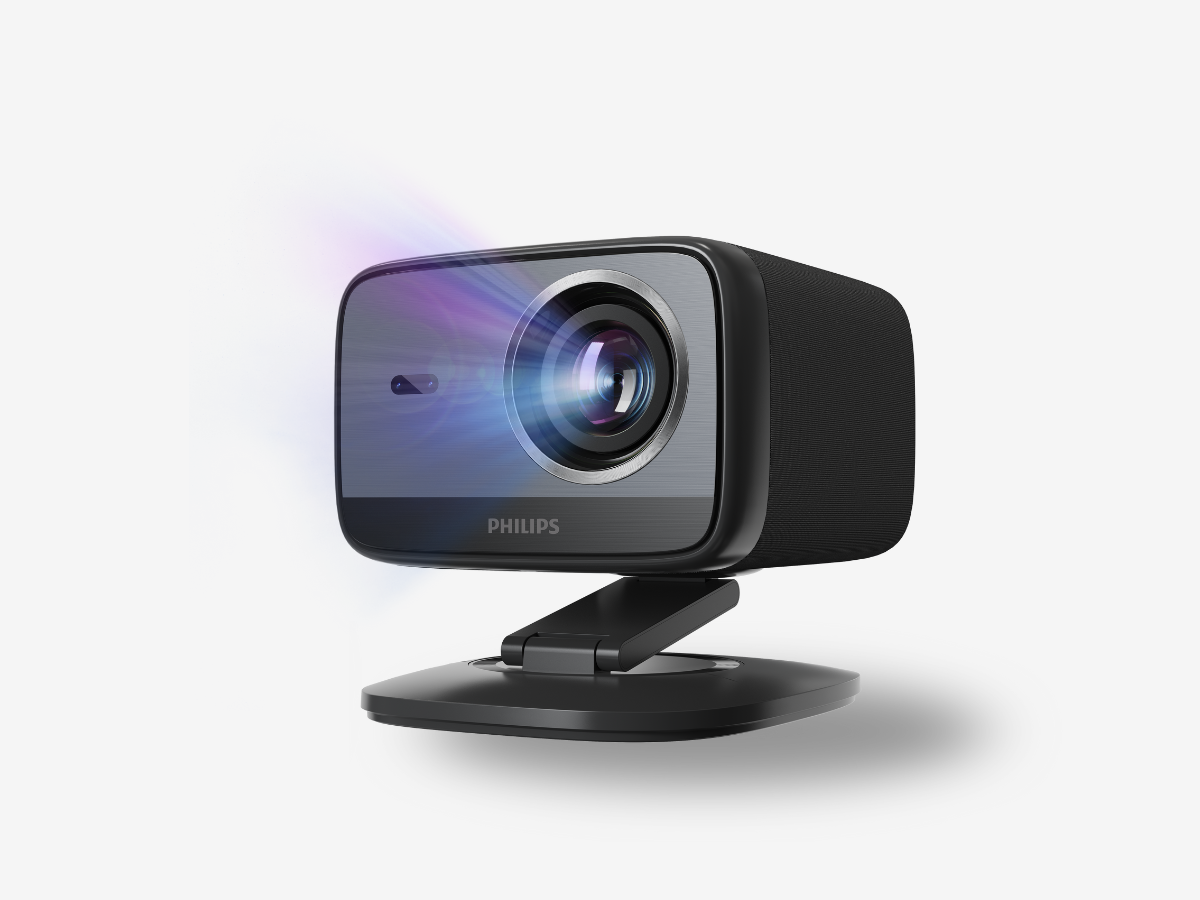
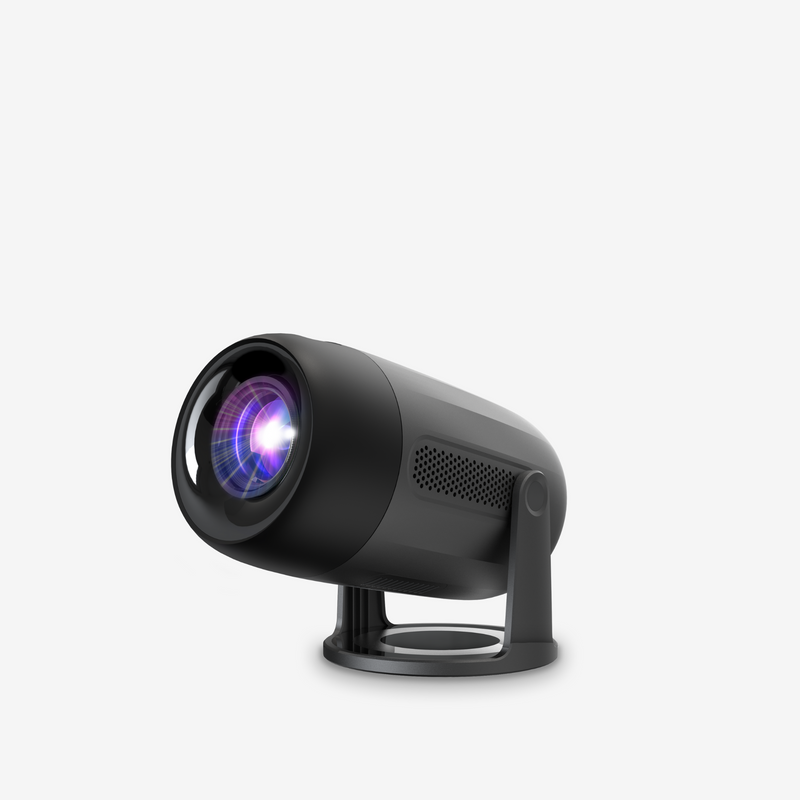
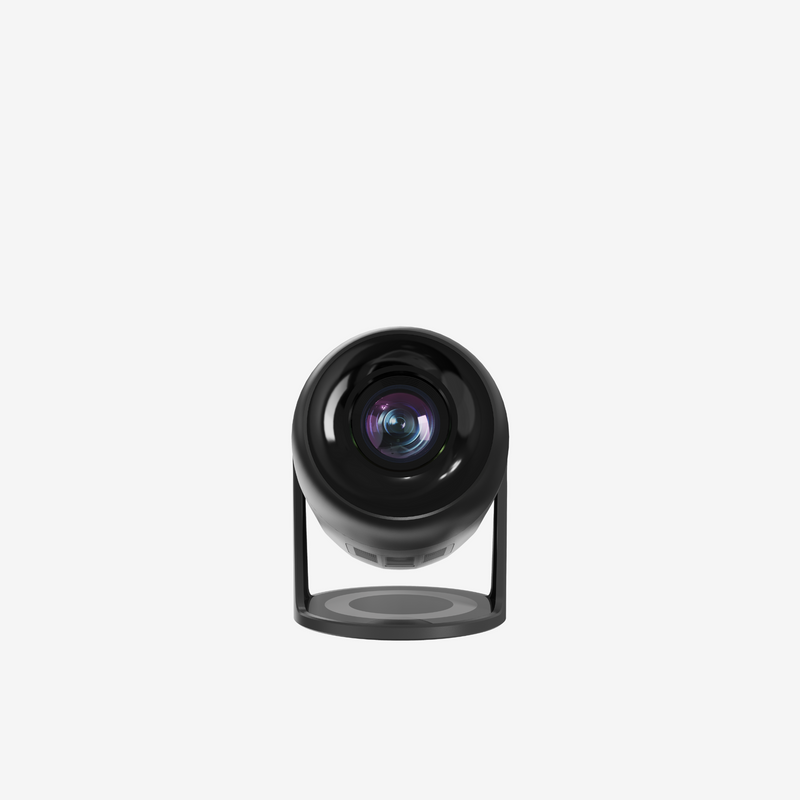
NeoPix with 180° Rotating Stand:
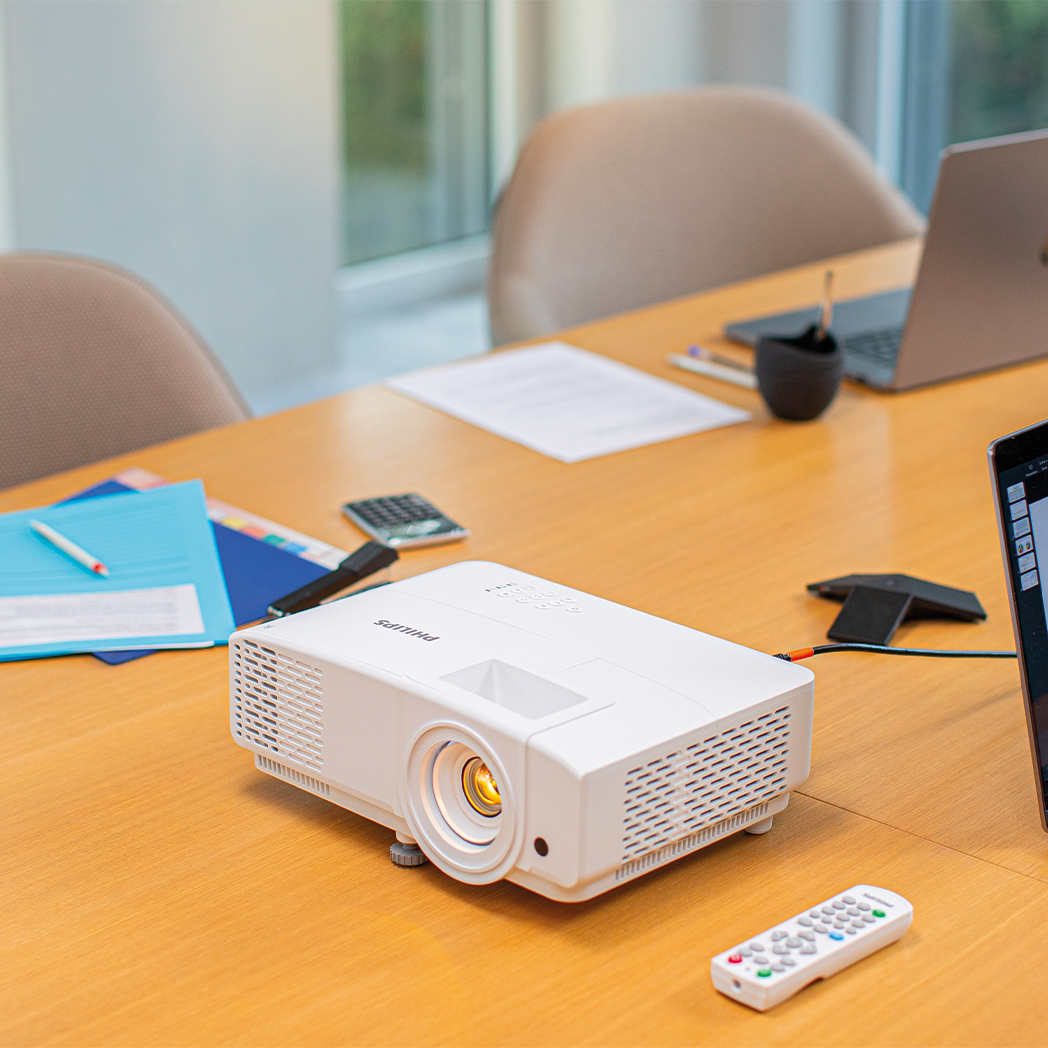
- Place on a stable surface (table, shelf, desk, or wall mount)
- Rotate up to 180° for ceiling or wall projection
- Activate built-in autofocus and keystone correction, no manual adjustment needed
GamePix (Gaming) Setup:
- Position the projector at eye level
- Optimal distance: 2.5 to 3 m for a 100″ screen
- Connect your console via HDMI
- Select a gaming mode based on game type (Action, Adventure, Sports)
ProPix (Professional) Setup:
- Ceiling mount recommended
- RS232 connection for control systems
- Dual HDMI inputs for multiple sources
- Adjust projection ratio for 70–150″ screens
Step 3: Connectivity and Smart Features
Wi-Fi (Smart Models):
- Enable dual-band Wi-Fi 6 (2.4 + 5 GHz)
- In settings, select your network and enter the password
- Access Google TV or LuminOS
Wireless Screen Mirroring:
- iPhone/iPad: via AirPlay from the Control Center
- Android: via Miracast (Display → Cast)
- Windows/Mac: “Connect to a wireless display” (Windows) or AirPlay (Mac)
Wired Connections:
- HDMI: consoles, computers, streaming sticks
- USB-C: power + video via a single cable (on compatible models)
Step 4: Optimizing Image Quality
Automatic Adjustments (Smart Models):
- Autofocus for instant sharpness
- Auto Keystone correction: horizontal, vertical, and 4-corner
Manual Adjustments:
- Adjust sharpness, keystone, digital zoom, and brightness based on environment
Gaming Enhancements (GamePix):
- GamePix 800 Smart: 120 Hz, ~8 ms latency, optimized game modes
- GamePix 900: HDR10 support, 4K resolution, low-latency mode
Step 5: Audio Setup
Built-in Speakers:
- NeoPix: 2×5 W or 2×7 W stereo, surround modes, EQ presets
- GamePix: enhanced sound, Bluetooth 5.2 for headphones, 3.5 mm audio out
External Audio Options:
- Bluetooth: pair with external speakers via the menu
- 3.5 mm: connect to a soundbar or speaker system
Step 6: Smart Features & Apps
LuminOS (NeoPix Smart Models):
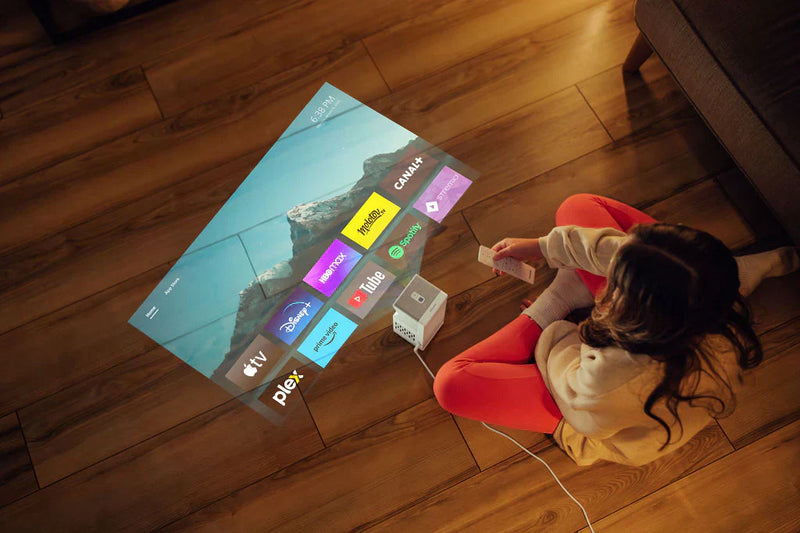
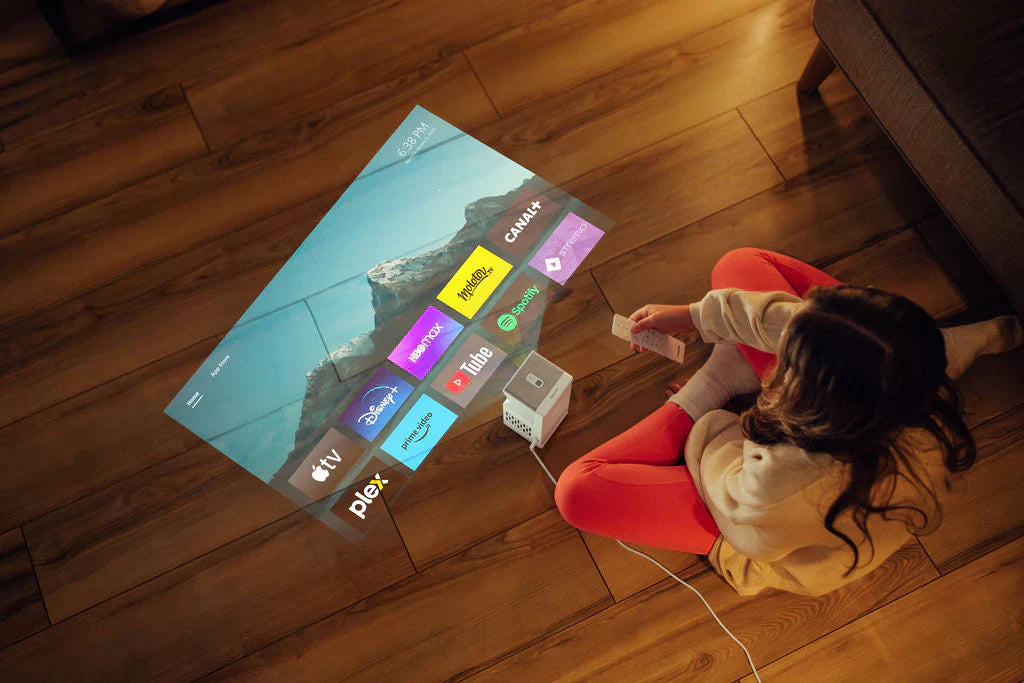
- Over 55 built-in apps: Netflix, YouTube, Disney+, Spotify, etc.
- Useful tools: file manager, VLC, ExpressVPN
Google TV (NeoPix 950 Smart & select models):
- Full access to Play Store, voice control, tailored content suggestions, built-in Google TV dongle
Quick Troubleshooting:
- Blurry image: check focus or projection distance
- Keystone issues: activate auto-correction or adjust manually
- Wi-Fi, HDMI, or sound problems: test cables, restart device, check settings
Professional Services
For ceiling or advanced installations, contact our support team at [email protected] or +41 21 53 91 665for assistance.
Maintenance for Long-Term Performance
- Monthly Cleaning: dust off the lens and air vents
- Long-lasting LED light source: 30,000+ hours : no lamp replacement needed
- Software Updates: automatic for Smart models, or manual via settings (pop-up alert will appear)
Customer Support
- Email: [email protected]
- Phone: +41 21 53 91 665 (international)
- Hours: 08:00–18:00 CET
- Website: shop.projection.philips
Our multilingual support team knows every model inside and out.
Conclusion: Enjoy Your Setup to the Fullest
Once correctly installed, your Philips projector delivers:
- Crisp images up to 150″
- Smart streaming with built-in apps
- Smooth gaming with low input lag
- Professional-grade reliability backed by a 2-year warranty
Whether it’s for movie nights, gaming with friends, or professional presentations, your projector is ready to perform at its best.
Want to enhance your setup? Browse all our accessories at shop.projection.philips
About Philips Projection
As the global brand licensee for Philips projectors, Screeneo Innovation SA (Tolochenaz, Switzerland) designs, manufactures, and distributes Swiss-quality projectors in over 100 countries.


